3D Processor CLI Introduction
Getting Started with the 3D Processor CLI
How to get started using the Command Line Interface (CLI) for RapidPipeline 3D Processor, a powerful 3D data optimization and automation toolset.
- For an introduction to the capabilities of RapidPipeline 3D Processor please see the Product Overview
- For CLI installation instructions, available platforms, and reference documentation, please see the CLI Documentation
- For a list of all available CLI commands, please see the CLI Commands Guide
How to Run the CLI
To launch the CLI, open a command line window. In the Windows operating system, we recommend using the Windows PowerShell.
The name of the CLI executable is rpdx. When rpdx is typed inside the command line window and the Return key is pressed, a result like this will appear:

RapidPipeline 3D Processor CLI launched in Windows PowerShell, without any commands specified
If using Windows Explorer, navigate to a directory containing a 3D model, then hold the SHIFT key and right-click. The context menu will show an entry "Open PowerShell windows here".
PowerShell has useful shortcuts. Type only the first few letters of each filename (for example, the "b" or "br" of "bridgelion.glb") and then press the TAB key one or more times. PowerShell can then suggest existing filenames through auto-completion.
CLI Online Help
The CLI can show abbreviated documentation directly within the command line, by typing rpdx -h.
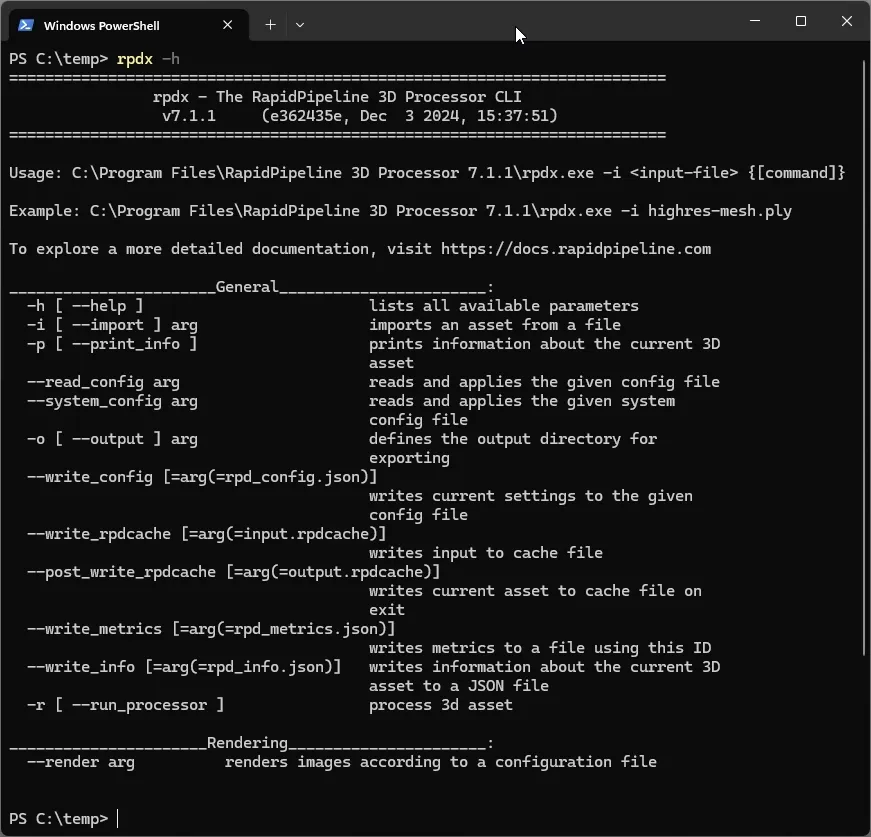
Result of the 3D Processor help command.
For full CLI reference documentation, please see:
- CLI Commands Guide
- 3D Processing Schema & Settings
- Rendering Schema & Settings
- System Schema & Settings
Print Information About a Model
Information about the current 3D asset can be displayed in the command window:
rpdx -i bridgelion.glb -p
| Command | Result |
|---|---|
rpdx | Start the CLI |
-i bridgelion.glb | Import the 3d asset for processing |
-p | Print information about the asset to the command line |
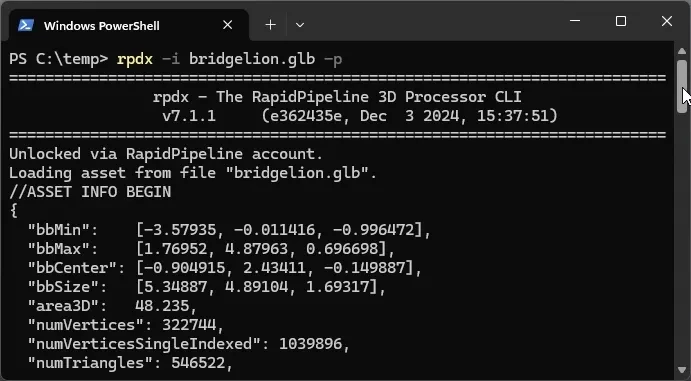
Result of the print command, more than 70 lines of information (shown partially here).
The model used in this example can be downloaded here: bridgelion.glb (67mb). This is a CC0 Public Domain model from noe-3d.at (source).
Write Information Out to a File
Information about the current 3D asset can be saved into a JSON-formatted text file:
rpdx -i bridgelion.glb --write_info info.json
| Command | Result |
|---|---|
rpdx | Start the CLI |
-i bridgelion.glb | Import the 3d asset for processing |
--write_info | Save file information about the asset |
info.json | File name to save the information into. If a name is not provided, the file is saved as rpd_info.json |
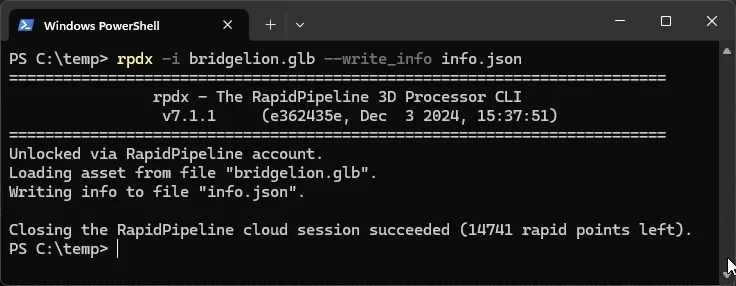
Result of the write command
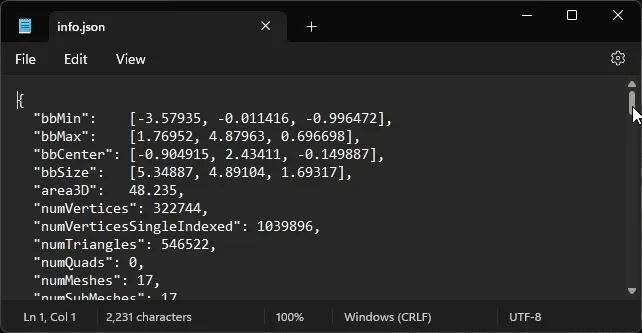
The saved file, opened in Notepad
The finished file can alternatively be downloaded here.
Create a Settings Preset Config File
A Settings Preset Config file is needed to perform any changes to a 3D asset. This is a JSON-formatted text file with a specific layout, containing settings that can be edited as needed.
Config files can be created in multiple ways: by using the CLI, or using the Blender Plugin, or using the Web Platform, or using the REST API. As long as a Config is exported in 7.x format, it can be used interchangeably by all RapidPipeline interfaces.
The CLI can create a Config file, by saving the current settings in json format:
rpdx --write_config config.json
| Command | Result |
|---|---|
rpdx | Start the CLI |
--write_config | Save the current configuration settings |
config.json | File name to save the settings into. If a name is not provided, the file is saved as rpd_config.json |

Result of the write_config command
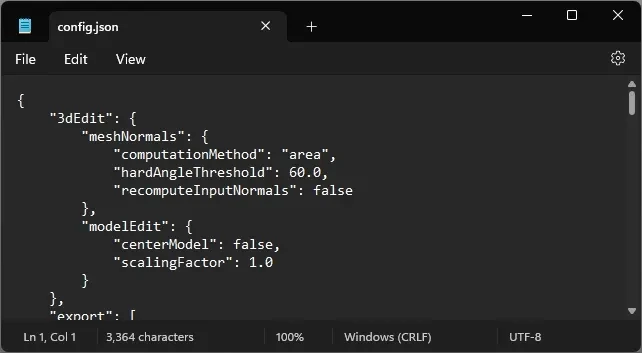
The saved file, opened in Notepad
The finished file can alternatively be downloaded here.
Render a 3D Asset from the CLI
Since it can easily be installed on servers and does not require a GPU, RapidPipeline 3D Processor CLI can be conveniently used to generate images of 3D models. This is useful, for example, to create thumbnail images for a large set of meshes.
The CLI can also render a series of turntable-like images, rotating a camera around the up-axis of a given mesh. Turntables can be used as previews for 3D models, in web pages or within a content management system.
rpdx -i bridgelion.glb --render
| Command | Result |
|---|---|
rpdx | Start the CLI |
-i bridgelion.glb | Import the 3d asset for processing |
--render | Render the asset, using default settings |
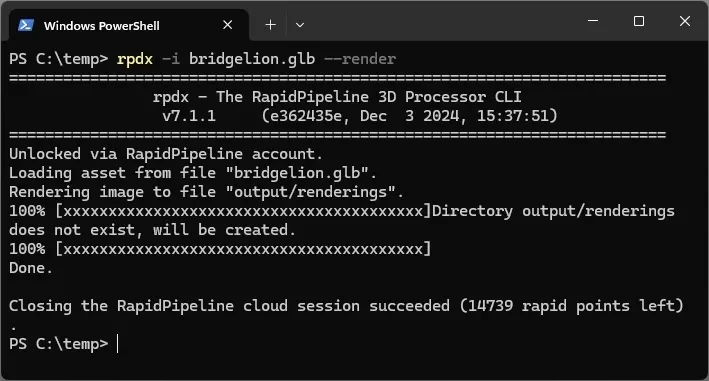
Result of the render command
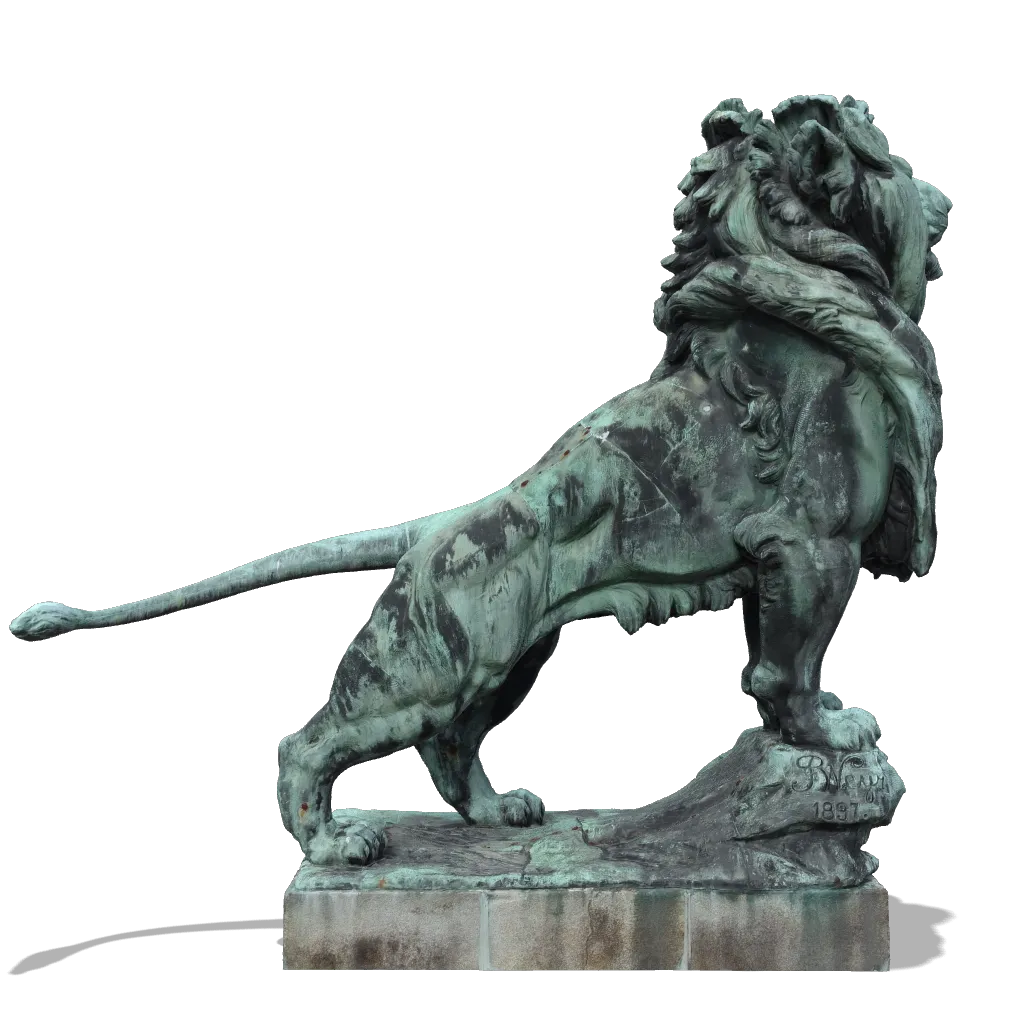
A render using default settings
Render settings can be edited and loaded via a JSON-formatted render settings file, for example: rpdx -i bridgelion.glb --render render_config.json. Settings can be adjusted for the camera, lighting, shadows, resolution, post-processing, image format, etc.
For the full list of render settings, please see Rendering Schema & Settings.