Configuring 3D Processor Presets
3D Processor Presets
After uploading an asset, usually the next step is to improve the asset by altering it with a Preset.
A Preset is a collection of settings that control how the RapidPipeline 3D Processor will optimize and convert 3D assets, and create whatever outputs you need.
Click on the "Edit 3D Processor" button to expose all the Presets.

Actions vs. Presets
Actions and Presets give you two ways to access the same great 3D Processor settings.
Use the Presets / Actions buttons to switch between the two modes.
![]()
Actions are curated tools that speed up the process of performing common tasks on your 3D data.
Presets are great if you need custom results and you want to fine-tune all available settings. You can also reuse Presets in various RapidPipeline tools, and share them with other users.
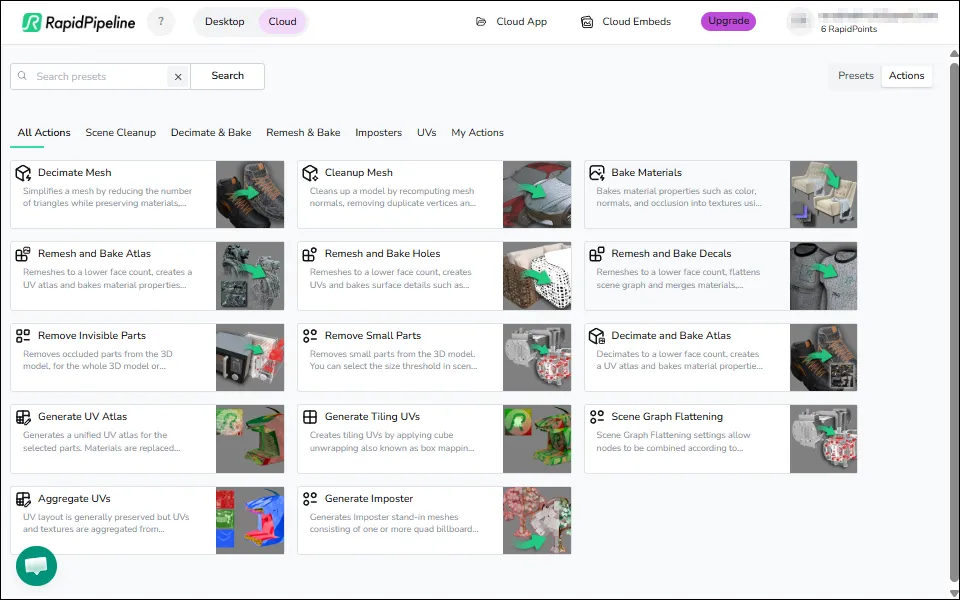
Action Tabs
Actions are organized into tabs for related tasks, and pre-configured to expose commonly-used settings:
![]()
- All Actions: Contains all Actions and makes searching by keyword easier.
- Scene Cleanup: Tasks for cleaning up scenes, like for massaging incoming CAD data.
- Decimate & Bake: Optimizing 3D meshes by reducing triangle counts, and condensing textures and materials.
- Remesh & Bake: Complex 3D surfaces can be shrinkwrapped with new geometry, and all the details can be baked into new textures.
- Imposters: Convert detailed 3D meshes like foliage into highly-optimized flat planes, and bake all the details into new textures.
- UVs: Create new UV texture coordinates for your 3D models.
- My Actions: These will be your own custom Actions. (coming soon!)
Presets Tabs
Presets are similarly pre-configured, but each Preset allows you to branch out from the defaults and dig deeper by fine-tuning your own custom processing configurations.
Presets are organized into tabs for related tasks:
![]()
- All Presets: Contains all Presets and makes searching by keyword easier. Your custom Presets are always shown first.
- General: Curated presets to demonstrate specific features of the 3D Processor (Remeshing, Decimation, Baking, Preserving UVs, etc.).
- Application: Process your models to meet the limitations and requirements of specific 3D platforms.
- Device: Optimize models to work with high performance on specific devices.
- My Presets: This is a list of all your own custom Presets.
Creating Your Own Custom Presets
When the factory presets are not cutting it for you, you can dig into the settings of RapidPipeline 3D Processor yourself!
There are multiple ways to make a custom preset, depending on how you like to work:
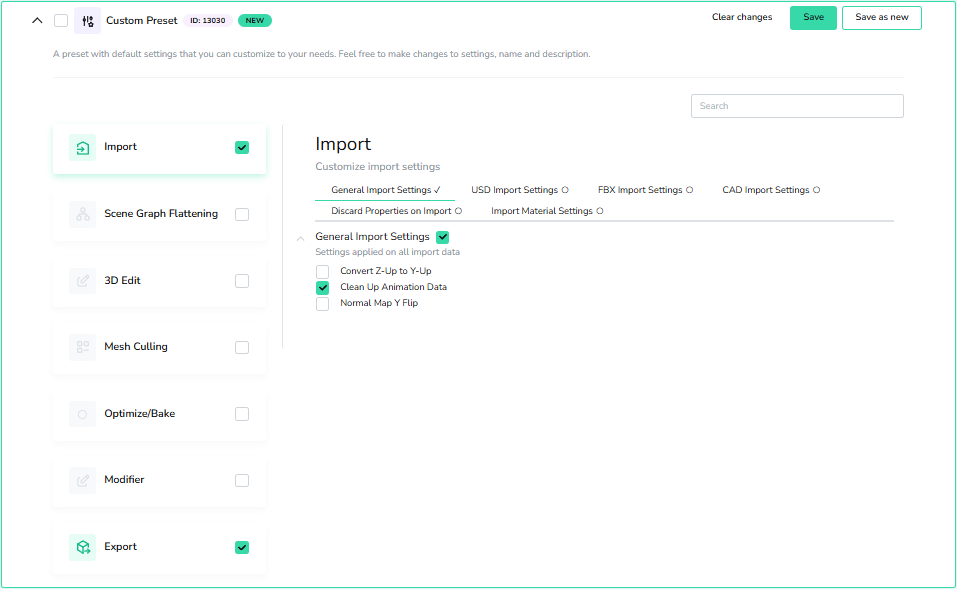
Method 1: In the RapidPipeline Cloud App, open an existing Preset by clicking the down arrow on the left side, then change your desired settings, and click Save as new to create your own new Preset. You can rename your Preset by hovering over the name and clicking the pencil icon.


Method 2: In the RapidPipeline Cloud App, start a new empty Preset by clicking on Create Preset. This starts with nothing but the minimal Export setting. Open the new preset by clicking the down arrow on the left, then choose exactly which settings you wish to include. Make sure to click the green Save button when you're finished editing!

Method 3: Use the Blender Add-on in Expert Mode, then change your desired settings.

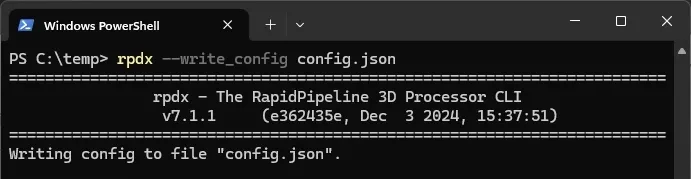
Method 4: Use the RapidPipeline CLI to generate a .JSON Preset file, then use a text editor to change your desired settings. Just make sure your edited preset is compatible with the RapidPipeline API.
Learn About Each Setting
To learn about Action settings, see the Actions Documentation.
To learn about Presets, see the 3D Processor Settings Guides. These are organized by function, as shown in the Cloud interface when you edit a Preset:
Import customizes the way a 3D asset is imported into the RapidPipeline 3D Processor. Asset fixing, CAD tessellation, discarding unwanted items, importing materials, etc.
Scene Graph Flattening gives you full control over the scene graph, specifying how nodes are merged or kept. These settings can help improve rendering performance by reducing draw calls and scene complexity.
3D Edit modifies the asset, including centering and scaling the model, generating new UV texture coordinates, cleaning up surface shading, assigning default materials, and more.
Mesh Culling allows for automated removal of small features or hidden interior geometry.
Optimize/Bake controls optimization of mesh and material data, including options for decimation, remeshing, texture atlas baking, uv aggregation, and more.
Modifier allows high-level modifications of the whole 3D model, such as limiting the output to a specific file size, or adaptive optimization based on screen size.
Export controls how files are saved, by exposing compression options for each format's textures, materials and geometry.
After learning about Presets, the next step is to process your models!