RapidPipeline for Substance 3D Painter
An introduction on how to use the RapidPipeline Substance 3D Painter plugin.
The plugin runs on a powerful 3D data optimization and automation toolset, more about it here: 3D Processor Reference.
For setup instructions please refer to RapidPipeline for Adobe 3D Painter Installation.
Basic Usage
In Adobe Substance 3D Painter, all RapidPipeline operations are powered by Actions which offer a curated set of common functions for quick and easy processing.
Invoking the Plugin
Open Substance 3D Painter, go to the Python menu, and make sure RapidPipeline is activated:

Then go to the File menu, and choose
RapidPipeline 3D Processor.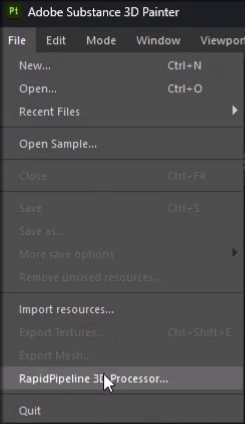
The plugin window will appear:

Import a 3D Model
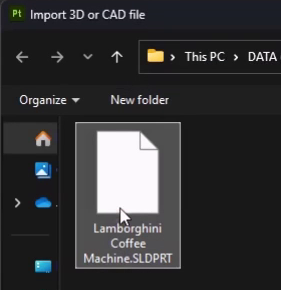
Choose the
Select 3D or CAD Filebutton.
Browse for the file to be imported. For a list of supported formats see Format & Material Support.

Select one of the available Import Actions to choose how to process your model:
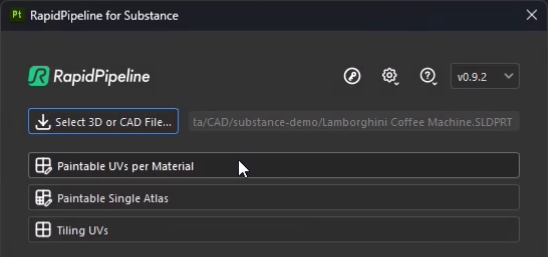
Adjust the Action settings as desired, then press
Run.UVs are created, and the file is imported into the scene. You can now assign materials and paint textures!
Substance 3D Painter Actions Tutorials
Here are guides that walk through each RapidPipeline Action within the Substance 3D Painter plugin:
For detailed documentation about the individual settings, please see the Actions Reference.
The example asset in this tutorial is based on a Coffee Machine model by bob-640, sourced from GrabCAD.
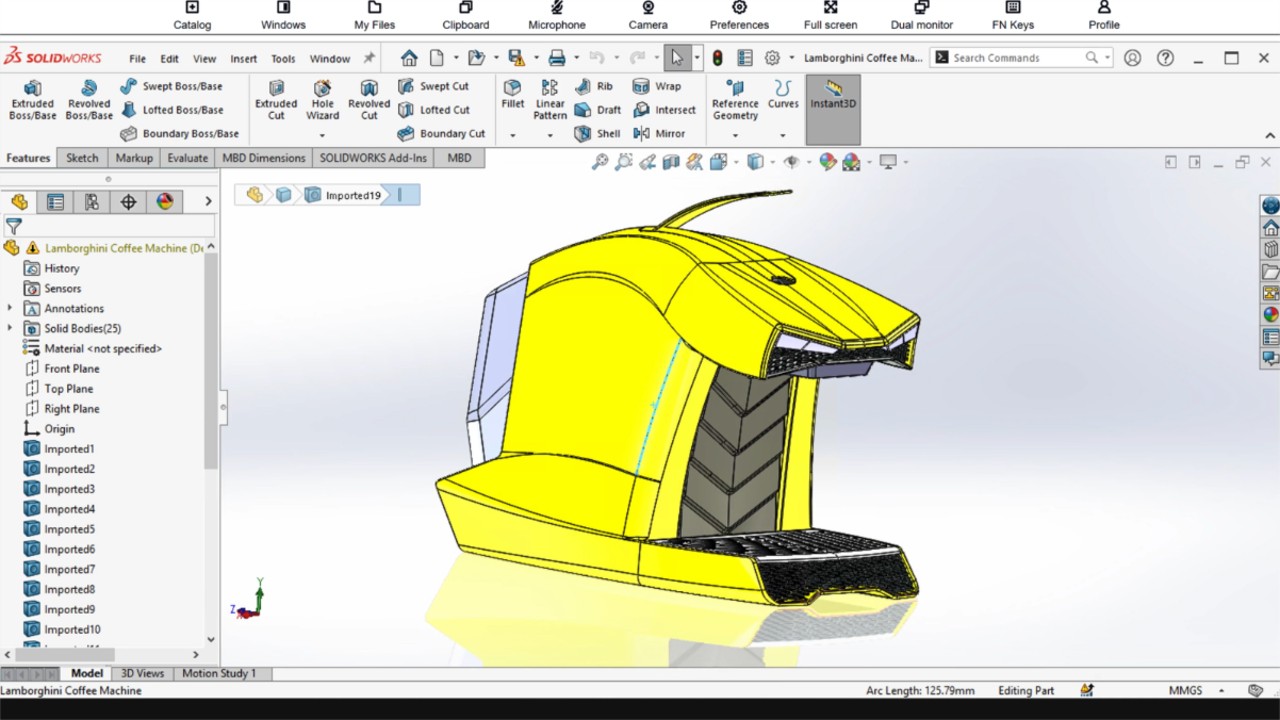
The original coffee machine model in SolidWorks.
Paintable UVs per Material
This action imports a 3D model and creates a UV atlas for each material. The incoming asset materials are kept, retaining material colors and names.
Each marterial is given its own set of UVs in "atlas" layout, without overlaps and fitting within the 0,1 texture space. Each material can then be painted and adjusted individually.
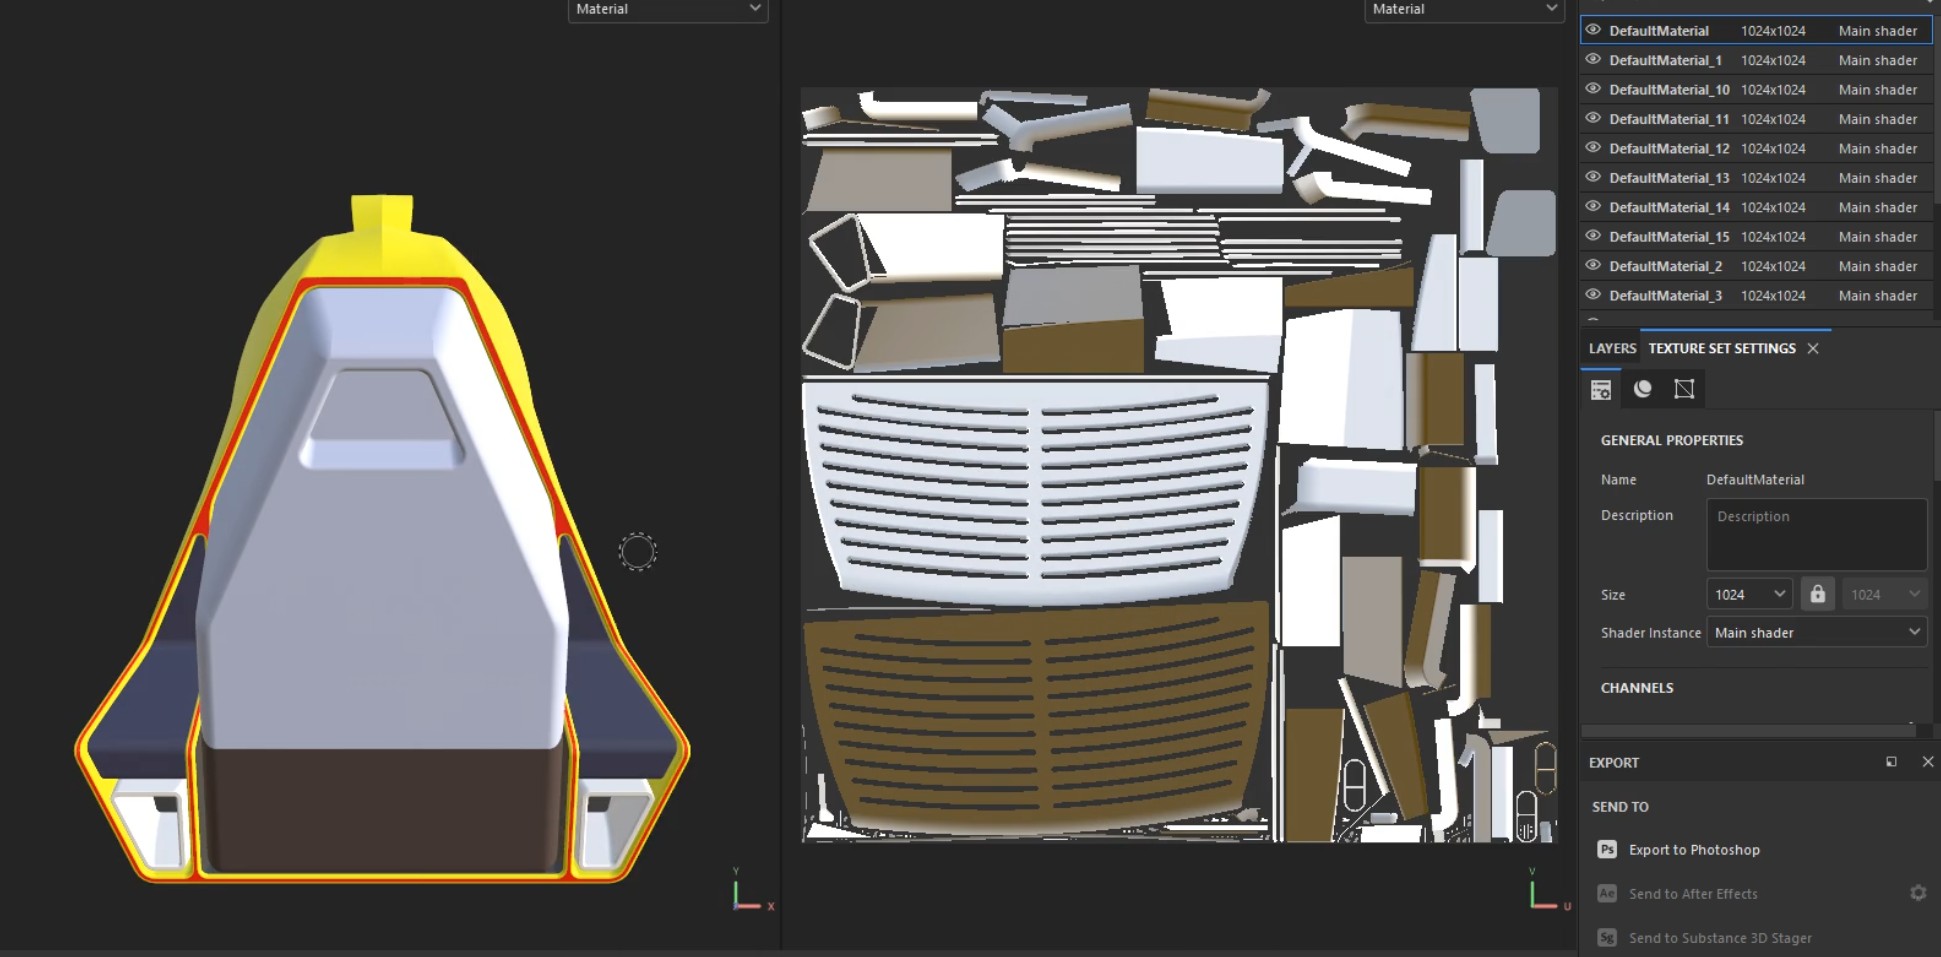
The coffee machine model after importing into Substance 3D Painter, showing UVs for one of the materials.
Choose the
Select 3D or CAD Filebutton.Browse for the file to be imported. For a list of supported formats see Format & Material Support.
Click on
Paintable UVs per Materialfrom the available Import actions:Adjust settings as desired, then press the
Runbutton. For more information about the various settings please refer to the Actions Reference.UVs are created, and the file is imported into the scene. Each material has its own set of atlas UVs. You can now assign materials and paint textures!
Paintable Single Atlas
This action imports a 3D model and creates one set of UVs for the whole asset, baking all the materials into one shared texture set.
The UVs are created in "atlas" layout, non-overlapping and fitting within the 0,1 texture space.
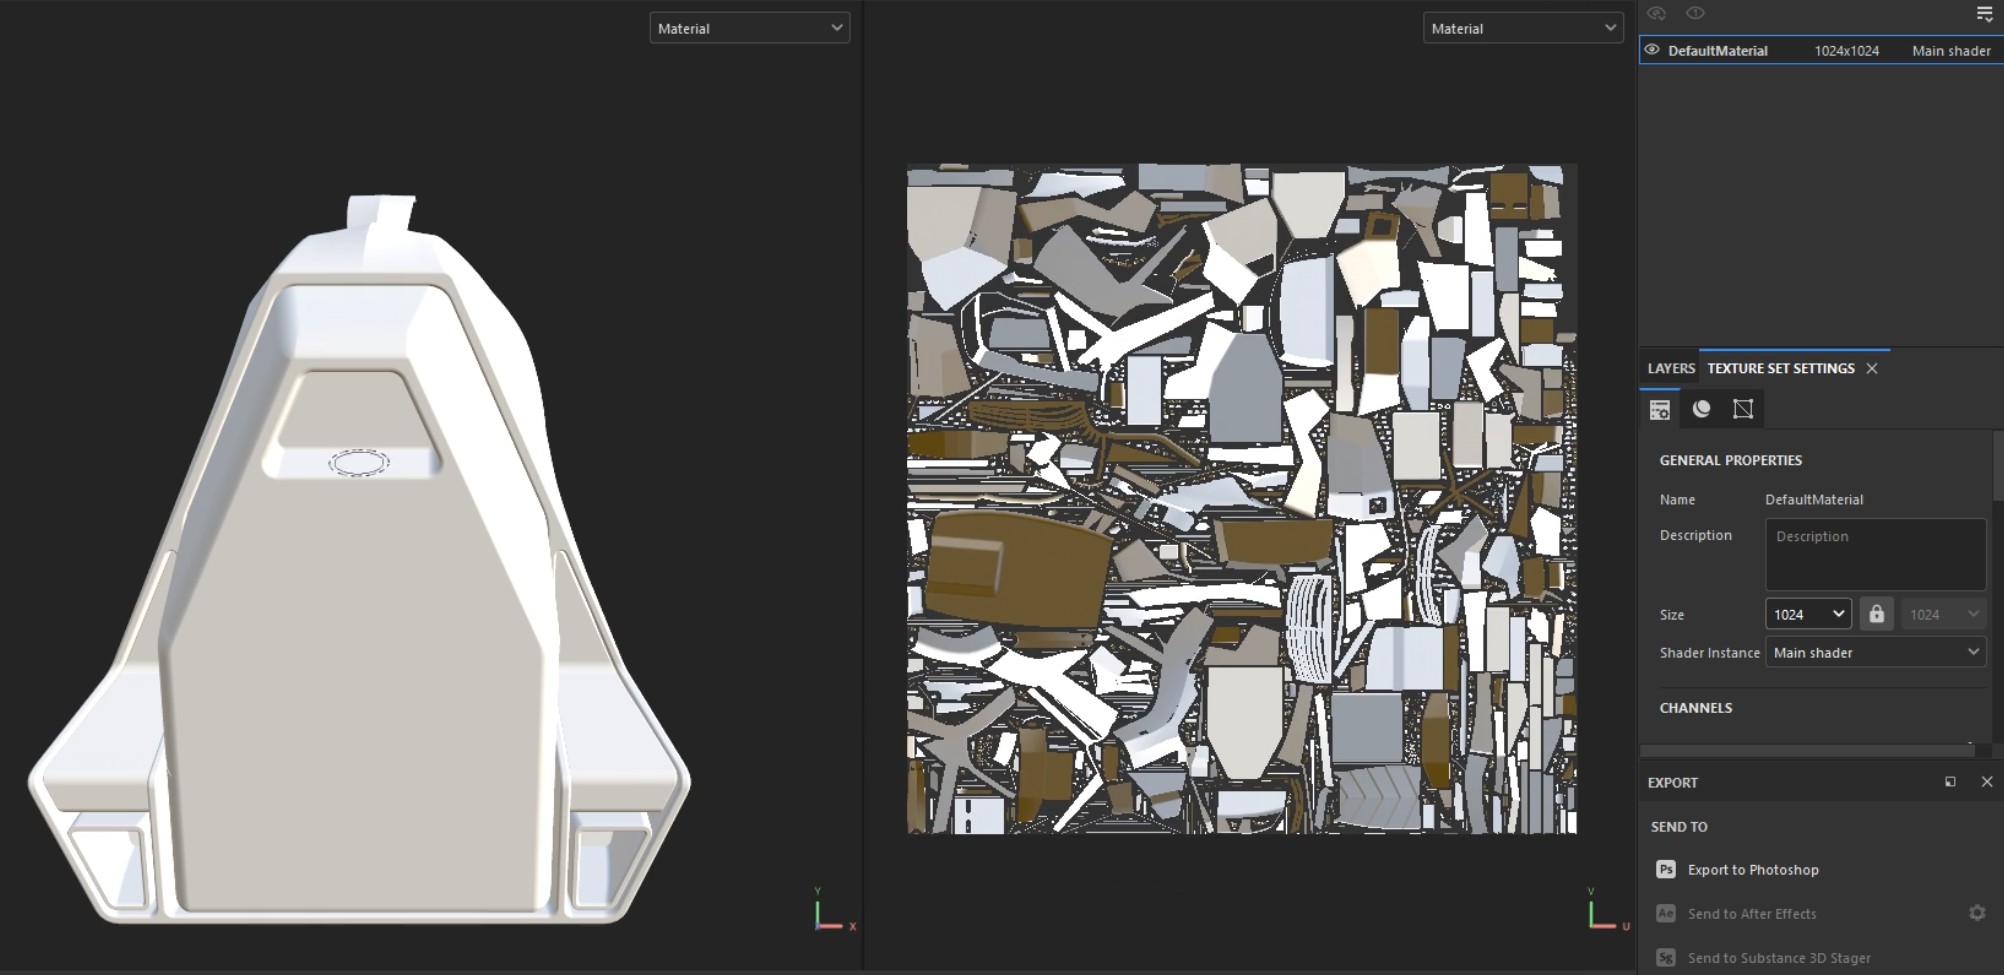
The coffee machine model after importing into Substance 3D Painter, showing the new combined UVs.
Choose the
Select 3D or CAD Filebutton.Browse for the file to be imported. For a list of supported formats see Format & Material Support.
Click on
Paintable Single Atlasfrom the available Import actions:
Adjust settings as desired, then press the
Runbutton. For more information about the various settings please refer to the Actions Reference.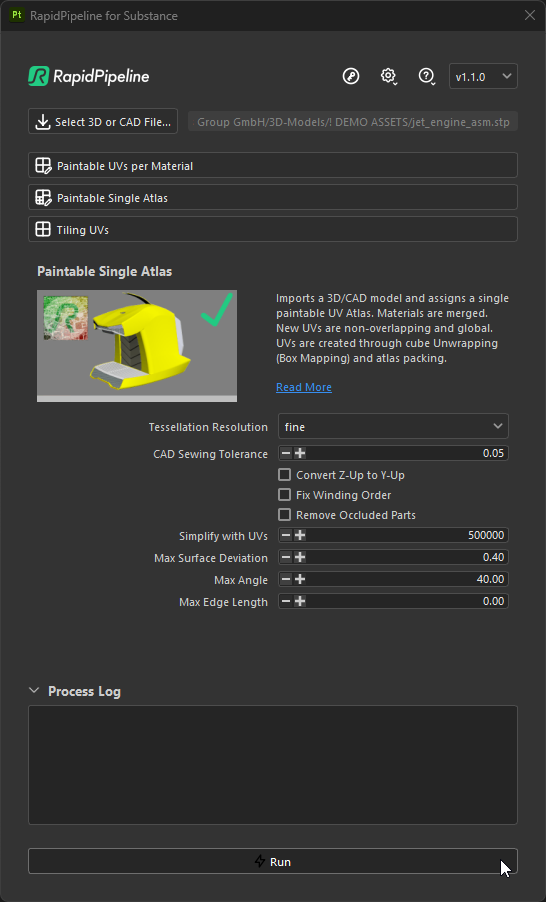
UVs are created, and the file is imported into the scene. A single UV atlas is created for the whole asset. You can now assign a material and paint the texture!
Tiling UVs
This action imports a 3D model and assigns tiling UVs. The UVs are created using triplanar mapping, great for assigning materials with tiled textures.

The coffee machine model after importing into Substance 3D Painter, showing the new combined UVs.
Choose the
Select 3D or CAD Filebutton.Browse for the file to be imported. For a list of supported formats see Format & Material Support.
Click on
Tiling UVsfrom the available Import actions:
Adjust settings as desired, then press the
Runbutton. For more information about the various settings please refer to the Actions Reference.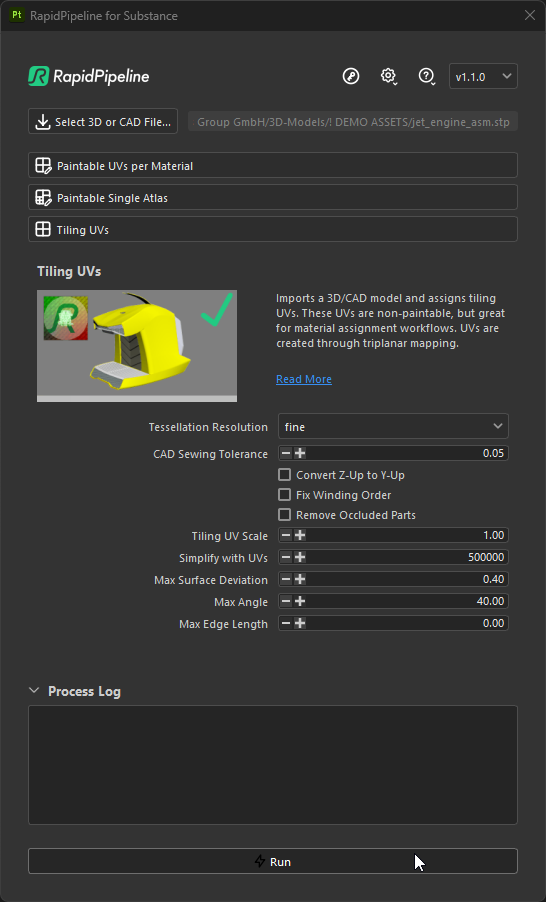
UVs are created, and the file is imported into the scene. A single UV atlas is created for the whole asset. You can now assign a material and paint the texture!